Hey there! Ready to dive into the world of air duct cleaning? Whether you’re a seasoned pro or just starting, mastering the art of air duct cleaning can make a huge difference in your indoor air quality. Let’s break it down into some simple, practical steps to help you become the go-to person for duct cleaning services. How do I find the best master air duct cleaning?
Why Air Duct Cleaning Matters
Improved Air Quality and Health Benefits
Before we jump into the tips, let’s talk about why air duct cleaning is essential. Air ducts can accumulate dust, dirt, and allergens over time, directly impacting the air quality in your home. This accumulation can lead to respiratory issues, especially for those with allergies or asthma. Regular cleaning removes these pollutants, ensuring a healthier living environment and providing peace of mind for you and your family.
Enhancing HVAC System Efficiency
A clean air duct system means a more efficient HVAC system. Dirt and debris can obstruct airflow, forcing your system to work harder to maintain the desired temperature. This not only increases energy consumption but also wears out the system faster. Regular duct cleaning helps maintain optimal airflow, reducing energy costs and prolonging the life of your HVAC unit.
Preventing Mold Growth
Moisture can sometimes accumulate in air ducts, creating a perfect environment for mold growth. Mold spores can be hazardous to health, potentially causing allergic reactions and respiratory problems. Regular inspection and cleaning prevent mold from taking hold, ensuring your home remains a safe and healthy space.
Getting Started with Air Duct Cleaning
Gather Your Tools
First things first, you need the right tools. Here’s a comprehensive list of must-have items for any air duct cleaning job:
- A powerful vacuum cleaner with a long hose: Opt for a vacuum with HEPA filters to effectively trap fine particles.
- A stiff-bristle brush: Essential for dislodging stubborn dirt and debris.
- Screwdrivers or a drill: Necessary for removing vent covers without damaging them.
- Microfiber cloths: Ideal for capturing dust and wiping down surfaces.
- A flashlight or headlamp ensures visibility in dark ductwork.
- Protective gloves and mask: Protect yourself from dust and allergens.
Having the right tools will make your job easier and more efficient. Trust me, you don’t want to be halfway through and realize you’re missing something important! Investing in quality tools will also ensure a thorough clean and a professional finish.
Safety First
Safety should always be your top priority. Let’s explore some crucial safety measures:
- Switch Off the Power: Before you start cleaning, make sure to switch off the power to your HVAC system to avoid any accidents. This prevents electric shock and ensures your safety.
- Wear Protective Gear: Dust and allergens can be harmful, so always wear protective gloves and a mask. This will safeguard you from inhaling dust particles and allergens that can trigger respiratory issues.
- Work in a Well-Ventilated Area: If possible, ensure the area is well-ventilated while cleaning to prevent the accumulation of dust in the air. Open windows or use fans to circulate air and reduce dust inhalation.
Understanding Your HVAC System
Before diving into cleaning, it’s essential to familiarize yourself with your HVAC system. Knowing the layout and components of your system can streamline the cleaning process:
- Identify Key Components: Learn about the main parts of your HVAC system, such as the blower, coils, and filters. Understanding their locations will help you clean more effectively.
- Recognize Signs of Wear and Tear: Look for any signs of damage or wear, such as loose connections or cracked ductwork. Addressing these issues early can prevent costly repairs down the line.
- Consult the Manual: If you’re unsure about any aspect of your system, consult the manufacturer’s manual for guidance. It can provide valuable insights specific to your model.
Step-by-Step Guide to Clean Air Ducts
Step 1: Inspect Your Ducts
Begin by inspecting your air ducts. Here’s how to conduct a thorough inspection:
- Use Your Flashlight: Shine a flashlight inside the vents to check for any large debris or blockages. This initial inspection will help you gauge the extent of cleaning needed.
- Look for Signs of Mold: Keep an eye out for any black or green spots, which could indicate mold growth. If you spot mold, consider calling a professional for removal.
- Check for Pests: Be on the lookout for signs of pest infestation, such as droppings or nests. If pests are present, professional pest control services may be necessary before cleaning.
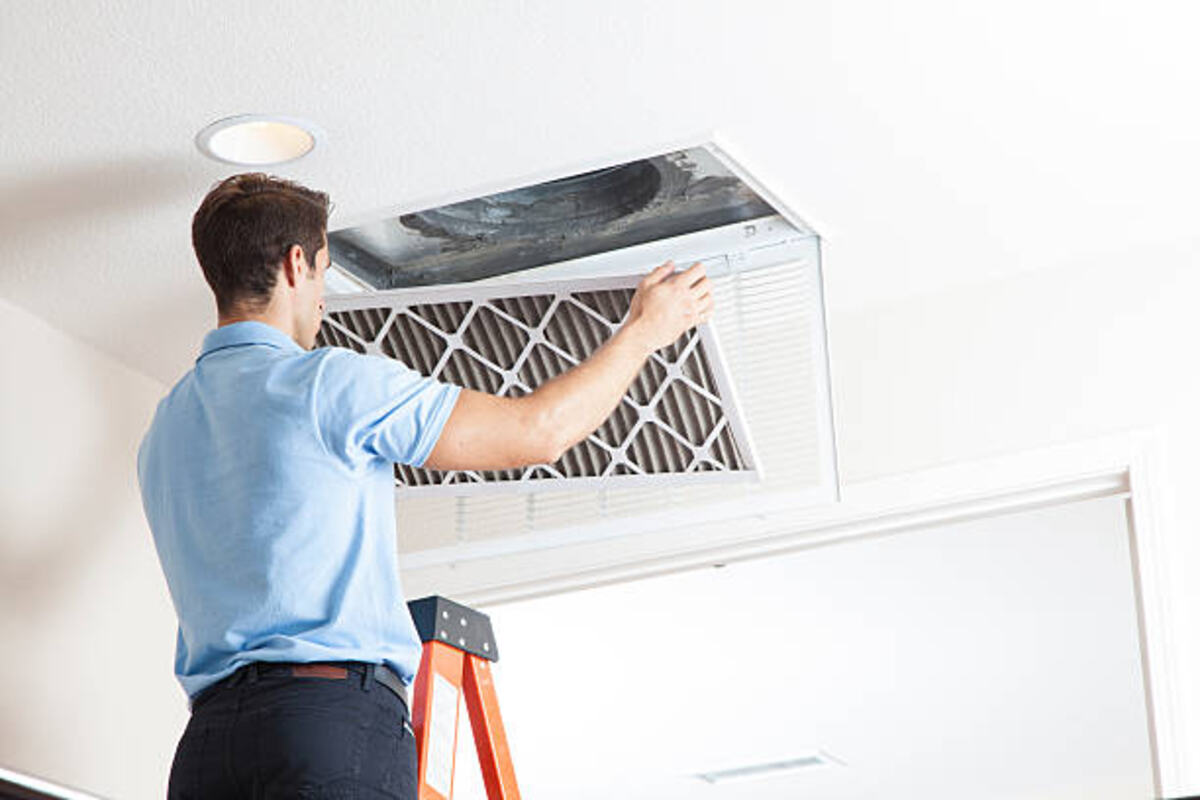
Step 2: Remove Vent Covers
Use a screwdriver or drill to remove the vent covers. Follow these tips to ensure a smooth process:
- Be Gentle: Handle the vent covers with care to avoid damaging them. If they seem stuck, gently wiggle them free.
- Clean the Covers: Once removed, clean these covers with warm, soapy water and a cloth. This prevents dust from the covers from re-entering the ducts.
- Dry Thoroughly: Let them dry completely before putting them back. Moisture can lead to mold growth, so ensure they are fully dry.
Step 3: Vacuum the Ducts
Attach your vacuum cleaner’s hose and brush attachment. Here’s how to maximize your cleaning efforts:
- Reach All Areas: Carefully insert it into the duct and vacuum out as much dust and debris as possible. Use the brush attachment to agitate stubborn dust.
- Work Methodically: Start from one end and work your way through to the other, ensuring no area is missed.
- Empty the Vacuum Regularly: If your vacuum fills up quickly, pause to empty it and maintain suction efficiency.
Step 4: Brush It Out
For stubborn dirt and dust, use a stiff-bristle brush to scrub the inside of the ducts. Follow these tips for effective brushing:
- Be Thorough: Be sure to reach as far as you can to dislodge any clumps of dust. Use long strokes to cover more surface area.
- Apply Moderate Pressure: Avoid using excessive force, which can damage the duct material. Instead, apply moderate pressure to dislodge debris.
- Follow Up with the Vacuum: After brushing, follow up with the vacuum to remove any loosened debris.
Step 5: Clean the Blower and Coils
Don’t forget about the blower and coils! These components can collect dust as well:
- Careful Vacuuming: Carefully vacuum and wipe them down with a microfiber cloth for a thorough cleaning. These parts are vital for system efficiency, so ensure they’re dust-free.
- Check for Wear: While cleaning, inspect these components for signs of wear or damage. Addressing issues early can prevent further complications.
- Consult a Professional if Needed: If you’re unsure about cleaning these parts, consider hiring a professional to avoid damaging sensitive components.
When to Call the Pros
Sometimes, a DIY approach just isn’t enough. Let’s discuss when professional help is necessary:
Recognizing Mold and Mildew
If you find mold or mildew in your ducts, it’s time to call in professional duct cleaning services. They have the expertise and specialized equipment to safely remove mold without spreading spores throughout your home.
Handling Pest Infestations
Pests in your ducts can pose significant health risks. Professionals can address infestations effectively, ensuring your ducts are clean and pest-free. They also provide solutions to prevent future infestations.
Dealing with Extensive Debris
If your ducts are heavily clogged with debris or if the ductwork is extensive and complex, professionals can ensure a thorough cleaning. They have advanced tools that can reach areas that are difficult to access with standard equipment.
Tips for Maintaining Clean Air Ducts
Keeping your air ducts clean doesn’t stop after one cleaning. Here are some tips to maintain them:
Change Filters Regularly
Replace your HVAC filters every 1-3 months to prevent dust buildup. Clogged filters can reduce system efficiency and allow dust to accumulate in the ducts. Regularly changing filters is a simple yet effective maintenance task.
Keep Vents Clear
Avoid blocking vents with furniture or drapes to ensure proper airflow. Obstructed vents can strain your HVAC system, leading to increased energy consumption and uneven heating or cooling in your home.
Regular Inspections
Check your ducts annually to catch any issues early. Regular inspections can identify potential problems before they become significant, saving you time and money on repairs.
Benefits of Regular Air Duct Cleaning
Regular air duct cleaning isn’t just about cleanliness; it also offers several benefits:
Improved Air Quality
Reduces allergens and pollutants, making the air healthier to breathe. Clean air ducts contribute to a cleaner living environment, reducing the risk of respiratory issues and allergies.
Increased HVAC Efficiency
Clean ducts mean your system doesn’t have to work as hard, saving energy and reducing costs. A well-maintained system operates more efficiently, providing better temperature control and comfort.
Extended System Lifespan
Proper maintenance can prolong the life of your HVAC system, saving you from costly replacements. By reducing wear and tear, regular cleaning helps keep your system in top condition for years to come.
Conclusion
There you have it! A straightforward guide to mastering air duct cleaning. With these tips, you’ll improve your home’s air quality and keep your HVAC system running smoothly. Remember, whether it’s a DIY task or you need to call in the pros, regular maintenance is key. Happy cleaning, and enjoy the fresh air!