Ableton Live 10 – What’s New in Version 10?
Ableton Live 10 has plenty to offer musicians and producers. The software is packed with a variety of features, including a new wavetable synthesizer, a new mixer, and an improved workflow that makes working with MIDI controllers easier than ever. Whether you’re a pro or a beginner, you’ll love learning the ins and outs of the new version of popular music software.
Wavetable synthesizer
The new Wavetable synthesizer in Ableton Live 10 is a versatile and powerful synthesizer. It has two wavetable oscillators and three envelopes. A dedicated oscillator effects section gives you access to a huge array of effects. You can also load user-created waveforms.
Wavetable synthesis allows you to control the positioning of each waveform. This means you can move from one waveform to another and make your sound more dimensional. For example, you can have one oscillator move up and down in pitch while the other stays steady.
One of the key features of the Wavetable synth is its filters. Each oscillator can be sent through a filter, which you can configure in parallel or serial. Filters can be set to modulate by a variety of MIDI sources.
Groups within Groups
Ableton Live 10 brings us several new features. The main highlight is the grouping function. This is a great feature for those who want to get more from their DAW. For example, it helps you manage audio channels while you compose. You can even add effects to the entire group at the same time.
The new features also give us a new way to organize our MIDI and Audio tracks. This includes the ability to add a’mute’ button to any audio track in a group. Previously, you could only mute a single track at a time, but now, you can mute an entire group at once.
Another great feature of Ableton Live 10 is the newest addition to its multi-sampled electric keys and acoustic drums. Also, the ability to create and export nested groups is great for those who want to build a live performance stem set quickly.
Session View
Ableton Live 10 has some great new features. For example, the new Session View is perfect for people who need to record an audio clip and play it back at the same time. It’s also great for producing and remixing.
Arrangement View is also a great feature. You can drag a clip from the grid and position it in the appropriate track. If you have several clips in a row, you can launch them all as a Scene in the Master Track.
There’s also the new Wavetable (!!) and Drum Buss. These are a bit overkill for a beginner, though. The central section of Ableton Live is where the real music making happens. Arrangement view and Session view are the two main views, and they look very different from your average DAW.
MIDI controllers
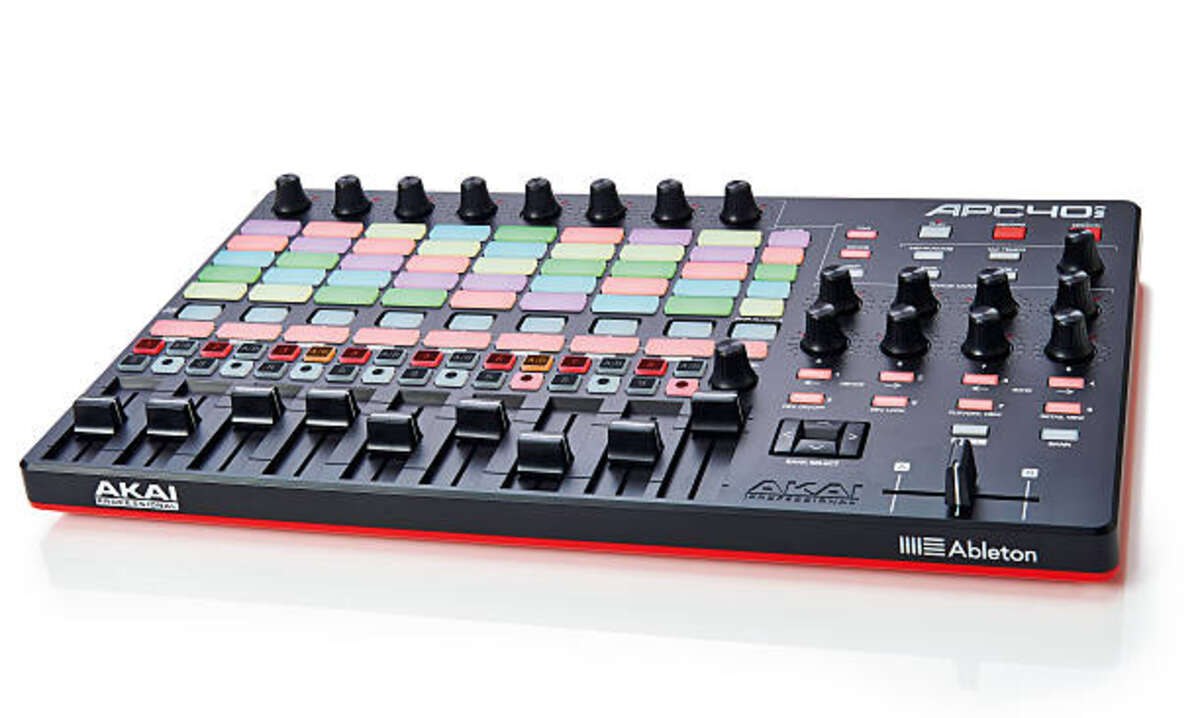
Ableton Live 10 is a popular digital audio workstation (DAW) that is used by musicians to produce music. It has a wide range of built-in sounds and a powerful sequencer. To use the software, you need a MIDI controller. These are specially designed keys and pads that make music production more efficient.
A MIDI controller is a device that sends a digital message to a DAW and converts it into a sound. It can be used with most DAWs. The type of MIDI controller you purchase will depend on the needs of your workflow. There are a few different options to choose from. Some MIDI controllers have a pad grid and others come with assignable knobs. However, most controllers require a plug-in to function.
Time-saving shortcuts
There are numerous features available in Ableton Live 10 that can make the process of recording, editing, and distributing your music a breeze. However, working in a DAW can be quite tedious and time-consuming. Luckily, there are some helpful keyboard shortcuts that can speed up the overall process.
This is a list of some of the more useful ones. While these shortcuts may not be as obvious as some of the more complicated functions, they will save you time.
Using a shortcut to locate a file is easy. Just type in the name of a file and click search. You can also audition audio clips from anywhere.
The most effective shortcuts will save you a few seconds a pop. For example, the omissions list is a quick way to move clips, while the function key will help you mute or unmute tracks.

